Saturday, May 29, 2010

Friendship Garden for Ellena


WOW! Are you people amazing or what! Look at what your contribution went towards and it turned out beautiful. Ellena is speechless....yes, I typed that Ellena is speechless.

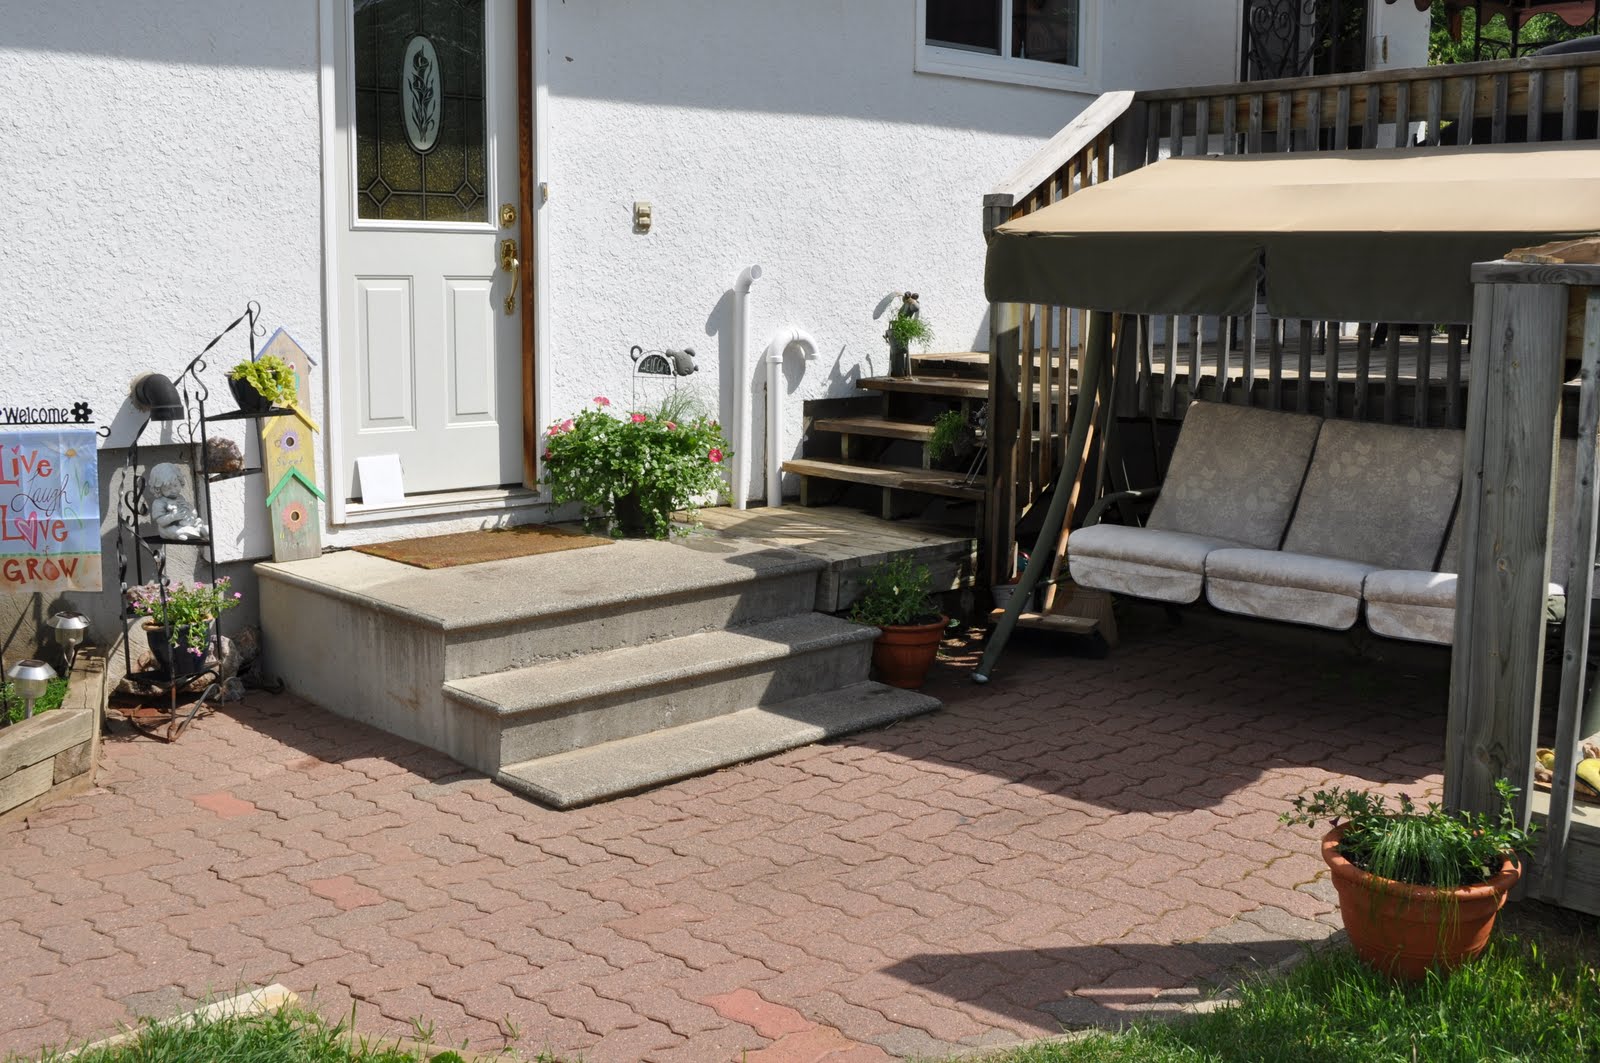
Kelly, Kim, myself and 37 other people in spirit planted Ellena's Friendship Garden yesterday morning. Most of the items that you see were bought with the contributions from the 40 people who participated in this beautiful surprise, but we also scavenged items from around her yard to pull it all together.

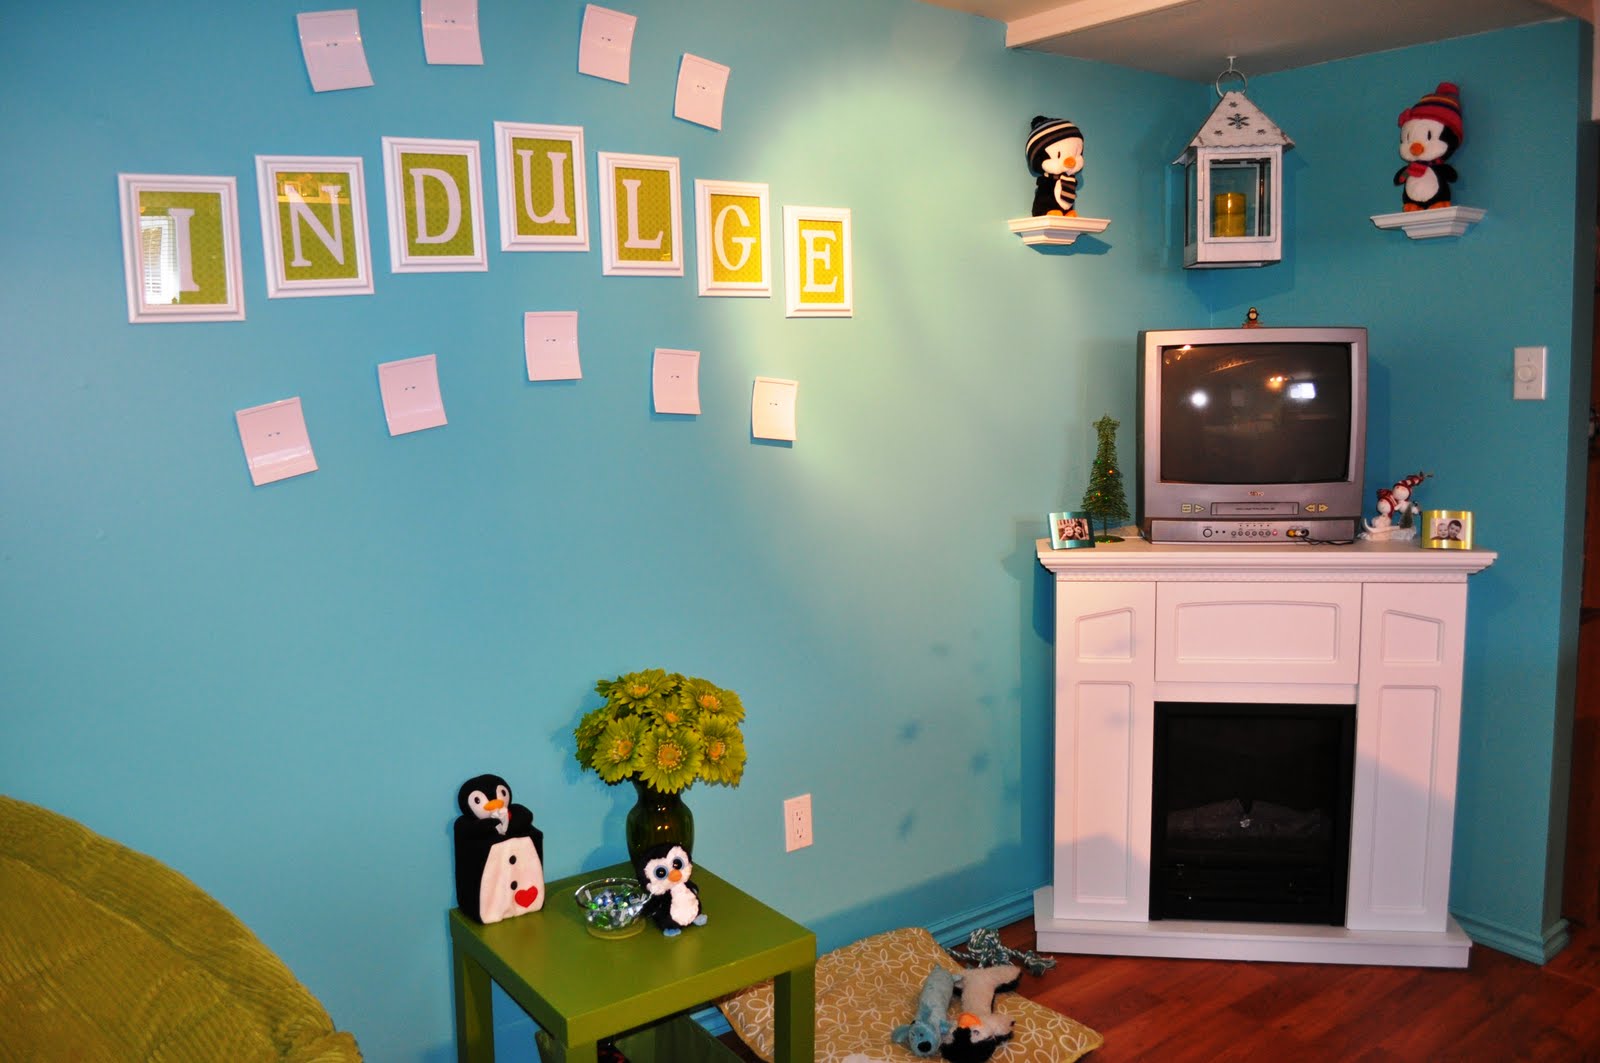
We didn't just stick to the garden boxes around the house, we also filled some planters that she had lying around to enhance her whole area. So, all the plants that you see in the photos were from your contributions.

To all of you who participated in this fabulous gift.....
THANK YOU VERY MUCH!

In the grand scheme of things, we have done a "small" task for someone. That "small" task has brought so much happiness & joy to Ellena and her family that it just makes you feel good to be a part of something so wonderful.

So, I thank you again for giving so generously so that we could do this fabulous garden for this generous, loving, kind-hearted, beautiful and of course, talented woman that I am proud to call my friend.

If you would like to see more photos of what we did, I will have all the photos that I took of the garden area in the store on Tuesday.

Have a Great Weekend!

Friday, May 28, 2010

September Calendar Page

Friday, June 11, 2010 - FULL
Time: 7:00 p.m. - 11:00 p.m. Cost: $20.00

The August Calendar Page will be done in the Fall. With the extra workshop being done in early June so that we don't have to get together during the summer, it made it difficult to design the August page because the summer lines are just starting to come out now.

For this calendar page we will be using Kaiser Craft Super, Rad & Neat Two-Sided Patterned Papers from their Peachy Keen Collection. The "ribbon" across the bottom of the page is actually fabric from our local fabric store, Fabricland. We will be using the same fabric to make our own large brads with the I-top Imaginisce Brad Maker. The 3 brown brads in the top left corner are from Scrapbook Sally (one of my Canadian Wholesalers who sadly closed their doors last year). We will be distressing the photo mats with Momento Rich Cocoa Ink and pulling out the sewing machine to do a brown zig zag stitch around the outside of the page.

Photos Sizes: One Horizontal 3.5 x 5 Photo, One Horizontal 2.75 x 3.75 Photo, One Vertical 2.75 x 3.75 Photo & Four Horizontal 2 x 3 Photos.

Monday, May 24, 2010

Amy's Friend Birthday Invitation

This is the birthday invitation that I made for Amy's 12th Scuba Birthday Party with her friends for this upcoming weekend.

We have rented a local pool for her party and we have Thunder Country Diving coming in to give Amy and her friends a one hour scuba diving lesson. Amy is always challenging me to come up with different types of birthday parties every year and I haven't disappointed her yet.

For this invitation, I made a gel card to give the under water feeling. I haven't made a gel card in years. My best-friend, Shanna, had the Stampendous Changito Scuba Diving stamp. This was not only perfect because it was a scuba diving stamp, but that it was a monkey scuba diving. One of my nicknames for Amy is monkey.

I used paper from We R Memory Keepers new About a Girl line, Core'dinations cardstock, EK Success Photo Corner Large Punch, Spellbinder Nestabilities Oval & Deckle Oval, You're Invited stamp from CTMH and Kaiser Craft Rhinestones.

I coloured in the Monkey image with Copic Markers. I used E34 & E37 for the monkey, B45 for the fish, C6 & C7 for the gray scuba gear and V04 & V09 for the purple scuba gear.

On the inside of the card, I typed out all the birthday information on my computer and printed it out on a lighter purple cardstock. Very simple, but effective. Amy's Birthday Wish from her friends is for them to give her money for her birthday instead of gifts, so that she can pool the money and donate it to her charity of choice.

Amy has been doing this with her school friends since Kindergarton. This year's charity is the same as last's years charity and she has chosen the Thunder Bay Therapeutic Riding Association.

Tuesday, May 18, 2010

Amy's Family Birthday Invitation

We celebrated Amy's 12th Birthday with our family this past weekend and this was the invitation that I made for her party.

I bought this stamp a year ago for this party because it was absolutely perfect for this year's theme. Amy collects elephants and her 12th birthday party theme was decided years ago that it was going to be a fish fry.

Why a fish fry? Well, when Amy was 4 years old, her Uncle Jason tried to get her to try pickerel. Amy has always been a picky eater and she refused. He kept bugging her and to get him to stop, she told him that she would try it when she was 12.

So, he let it go, but always reminded her that when she was 12 that she was going to have to try pickerel. They have bugged each other about this fish thing for 8 years. Amy kept up her end of the deal and tried Uncle Jason's deep fried pickerel on Sunday and she is her mother's daughter and doesn't like pickerel.

It was a great party and we had a blast planning it.

I used BoBunny Double Dot Paper and BoBunny Sophie Two Sided Patterned Paper, Rachelle Anne stamp, Stamping Bella Baubles and Labels One Nestability Die Cuts.

For Copic Markers I used: Elephant - W0, W2, W3 & W5; Water - W2 & B01; Fishing Rod & Bucket - R85 & RV19; Stones - E47

The invitation was flat with Amy's Birthday Wish List on the other side. I normally stick magnets on the other side so that our family can stick the invitation on their fridge as a reminder, but the invitations got out later than usual this year so I didn't do that part.

Wednesday, May 12, 2010

July Calendar Page

Friday, June 11, 2010 - FULL
Time: 7:00 p.m. - 11:00 p.m. Cost: $20.00

For the July Calendar Page, I had summer fun and Canada Day in mind. I didn't want to make it too patriotic because not everyone celebrates the holiday, but I did want the page to have a Canada Day feel for those in the workshop who do celebrate it. I believe that I accomplished this goal and I love how the page turned out.

We are using two-sided papers from BoBunny's new Flower Child line: Harmony, Free Bird, Child Hippy & Psychedelic Die Cut. We are also using BoBunny's matching dotted red ribbon & red rhinestones from Kaiser Craft.

To make the rhinestone swirl at the bottom of the page, we are using Bazzill's Jewel Templates. We will be using the CTMH Sunshine Thoughts Stamp Set to add some sun images in the dead spaces on the page. We will be using the CTMH Sweet Leaf, Holiday Red & Tulip ink to stamp our images and distress some paper.

Photos Sizes: Two 3.5x5 Vertical Photos and Four 2x3 Vertical Photos.

Saturday, May 8, 2010

My First Izzie Card


I love this newer line of stamps offered by Stamping Bella. I own every Izzie stamp she has offered us so far, but "Izzie with a Cherry on Top" is the first one that I have ever inked. You don't know how excited I am that I finally got to play with this stamp and I love how the card turned out; especially since my first plan of attack didn't work out.

I used Tangerine Core'dinations Cardstock, an old line of paper from Autumn Leaves MOD, White Bazzill Cardstock and Pink Paislee Artisan Tape. The Artisan Tape is a new product that I just brought into the store this week. I used it behind the "Happy Birthday" on the front of the card and for the top part of the cupcake on the inside of the card.

For tools I used EK Success Medium Photo Corner Punch, EK Success New Small Cupcake Punch, Oval Nestabilities, Big Scalloped Oval Nestabilities, Stampin' Up Word Window Punch, Fiskars Circle Hand Held Punch, Stampin' Up Dusty Durango Ink & Marker, Stampin' Up Birthday Sentiment Stamp and CTMH Happy Birthday Sentiment Stamp.

The Copic Sketch Markers I used are: Hair - E99, Skin - E000, Cherry - YR18, Cupcake Icing - YR16 & YR12, Cupcake Shell - Y26 & YG21, Lighter Shade of Teal in Her Clothing - N0 & BG10 and the Darker Shade of Teal in Her Clothing - N1 & BG11.

Gotta love IZZIES!!!

Friday, April 30, 2010

Donna's Scrap Room

For those of you who may not know the background, my basement has always been a rental suite ever since my husband and I moved in here 11.5 years ago. Our most recent tenants were my parents and they moved out in December into my grandparents' house. My grandparents' moved into an apartment. We decided that the space would better serve us as my "Ultimate Scrap Room" than a rental unit and the renovations began.

The above photo is what you see as soon as you walk into my room. To the left you can see some of my old cameras that I have collected over the years. The second one from the top was my mom's first camera. I have a guest book out for my visitors to sign in when they come to visit and it is sitting on top of my grandma's old sewing machine. That was the machine I used to make my daughter's first Halloween costume with my grandma's help.


As soon as you come in the door and turn to the right, that is my photo archival area. Since I opened DAT'S Scrapbooking 6.5 years ago, most of my photos are in those totes or are still on cds because I haven't had time to get them into albums. In time, the photos will make it to the albums. For now, we have a great space to store them and to sit down and go through all the albums that are done. This used to be my parents' dining room.

When you walk a little bit forward, to the left you will find what used to be my parents' kitchen. This was newly renovated in 2008, due to our basement flooding. My Cuttlebug, Cricut Machine and Sewing Machine now sit out, ready to be used at a moments notice and the rest of this area is great storage and extra scrapbooking space for my daughter or my girlfriends. I even have a small bar fridge where my parents' dishwasher used to be.

We turned my parents' "lazy susan" in the corner cupboard into my Cricut Cartridge storage area.

One of the deep drawers in the kitchen area fits ten of the WAL-MART bead boxes that I use to store my Stamping Bella Bling, brads & other small embellishments.

This narrow cupboard used to hold my parents' baking sheets and now it holds 10 small clear storage containers that I bought from Canadian Tire.

Another angle shot of the kitchen area. My sewing machine is set up where my parents' stove used to be.

One more angle shot of the kitchen area.

This is a general storage cupboard that fit in perfectly where my parents' fridge used to be.

My parents' old pantry and microwave area works out to be the perfect stamp storage area for me. The green magazine holders each hold 9 of the Stampendous Thin Stamp Storage containers that is perfect for all my EZ Mounted Rubber Stamps. The next area presently holds 19 Close to My Heart Storage containers and there is still room for 8 more. The bottom area used to be 3 pull out drawers, but we had the carpenter make us another one and it holds all my Stampin' Up Stamp Storage containers perfectly.

Here is my parents' old livingroom. It is now my main scrapbooking area. The walls are painted '57 Chevy Blue because that is Trevor's favourite colour. The Green Apple accent colour is my favourite colour. It just so happens that our two favourite colours are the popular colours for all decor stuff right now.

This is to the right of the room when you first walk in. My scrap room is in the basement and it does get chilly down here in the winter, but this fireplace is amazing and throws great heat to keep me warm. You can also see that there is a pillow on the floor with some toys on it. That is Sparkle's dog bed. She has one in every room of the house.

My electric fireplace not only keeps me warm, but it stores my tv, dvd player and my music.

On the opposite end of my fireplace wall, I have a comfy chair to kick back in and relax. It also is a great place for my daughter to relax in and watch a movie while I scrapbook.

This is a medicine cabinet that I bought at WAL-MART for $40.00. As you can see I still have more space for the new Stampin' Up inks coming out in the summer. It also is sunken in on the top so that the 18 jars that I have can't slide off the top shelf.

Behind the door with all the punches on it was my parents' bedroom, but it is now our exercise room. Across from the wall of punches is the entrance to Amy's hang out room.

This is my just under 12 foot counter top area and storage area.

There is my island with more storage underneath it. That door with all the punches on it is the bathroom door.

Same space, different angle shot.

Again, same space but a different angle shot to show you all the storage I have under my island.

Well, hopefully I have given you an idea of how you can store some of your own scrapbooking supplies. I love my space. Dreams definitely do come true. I have pictured this space in my head for over 6 years and I finally have it. So, don't ever give up on your dreams.

Happy Scrappy Day!